Sunday, January 15, 2012

Technique Blog Hop

There are 13 of us highlighting the Argyle technique this month.  This technique is shown on page 91 in the 2011 Autumn/Winter Idea Book.  If you have arrived here from Cherri's Blog, you are on the right track.   Initially I couldn't see past the use of a triangle for the pattern, but thanks to some inspiration from participating Consultants, I decided to step outside the box.

I decided to use the "Love Life" stamp set - one of my favorites - specifically, the large heart image and small star.  Stamping the heart, top to top and bottom to bottom, I created this background.
Then, using one of the stamp sets which coordinates with our exclusive Cricut cartridge, and coordinating Dimensional Elements, I created the focal point on this card.  I didn't want to detract much from the background so kept it simple and added a little bling.
Thanks for stopping by.  Enjoy circling around the hop.  Now, hop on over to Tonya's Blog where you will find some additional inspiration for this technique.

Happy Hoppin',

Monday, January 2, 2012

January Stamp of the Month - "Cherish the Day"

This month's Stamp of the Month comes with multiple images, easy to switch out for any special occasion and it can be yours for just $5 with a $50 purchase!  What a great offer!  It is available only during this month.

I loved using the Believe paper packet for this card.  While it easily identifies with Christmas, it can also be made pretty versatile.   The Green Sweet Leaf star and Sky polka dot patterns are absolutely adorable for any occasion!
 
If you would like to add this stamp set to your order this month, let me know!  You can always buy it outright for $17.95 but would't you prefer to get it for just $5 with a $50 purchase?

Enjoying my last day of Christmas break,


Sunday, January 1, 2012

Happy New Year!

Happy 2012!  What a blessed day today is - the start of a new year!  We brought in the new year at church in a fun and God-filled way!  There is no other place I would have rather been!

I always love a fresh start and that's definitely what the new year promises us.  What we do with the new year is up to us.  I hope you plan on making the most of YOUR new year!

I enjoyed making these cards using the negative part of "2012" cut out from our exclusive Art Philosophy Cricut cartridge.  I cut out the letters and then used the remaining piece as a template.


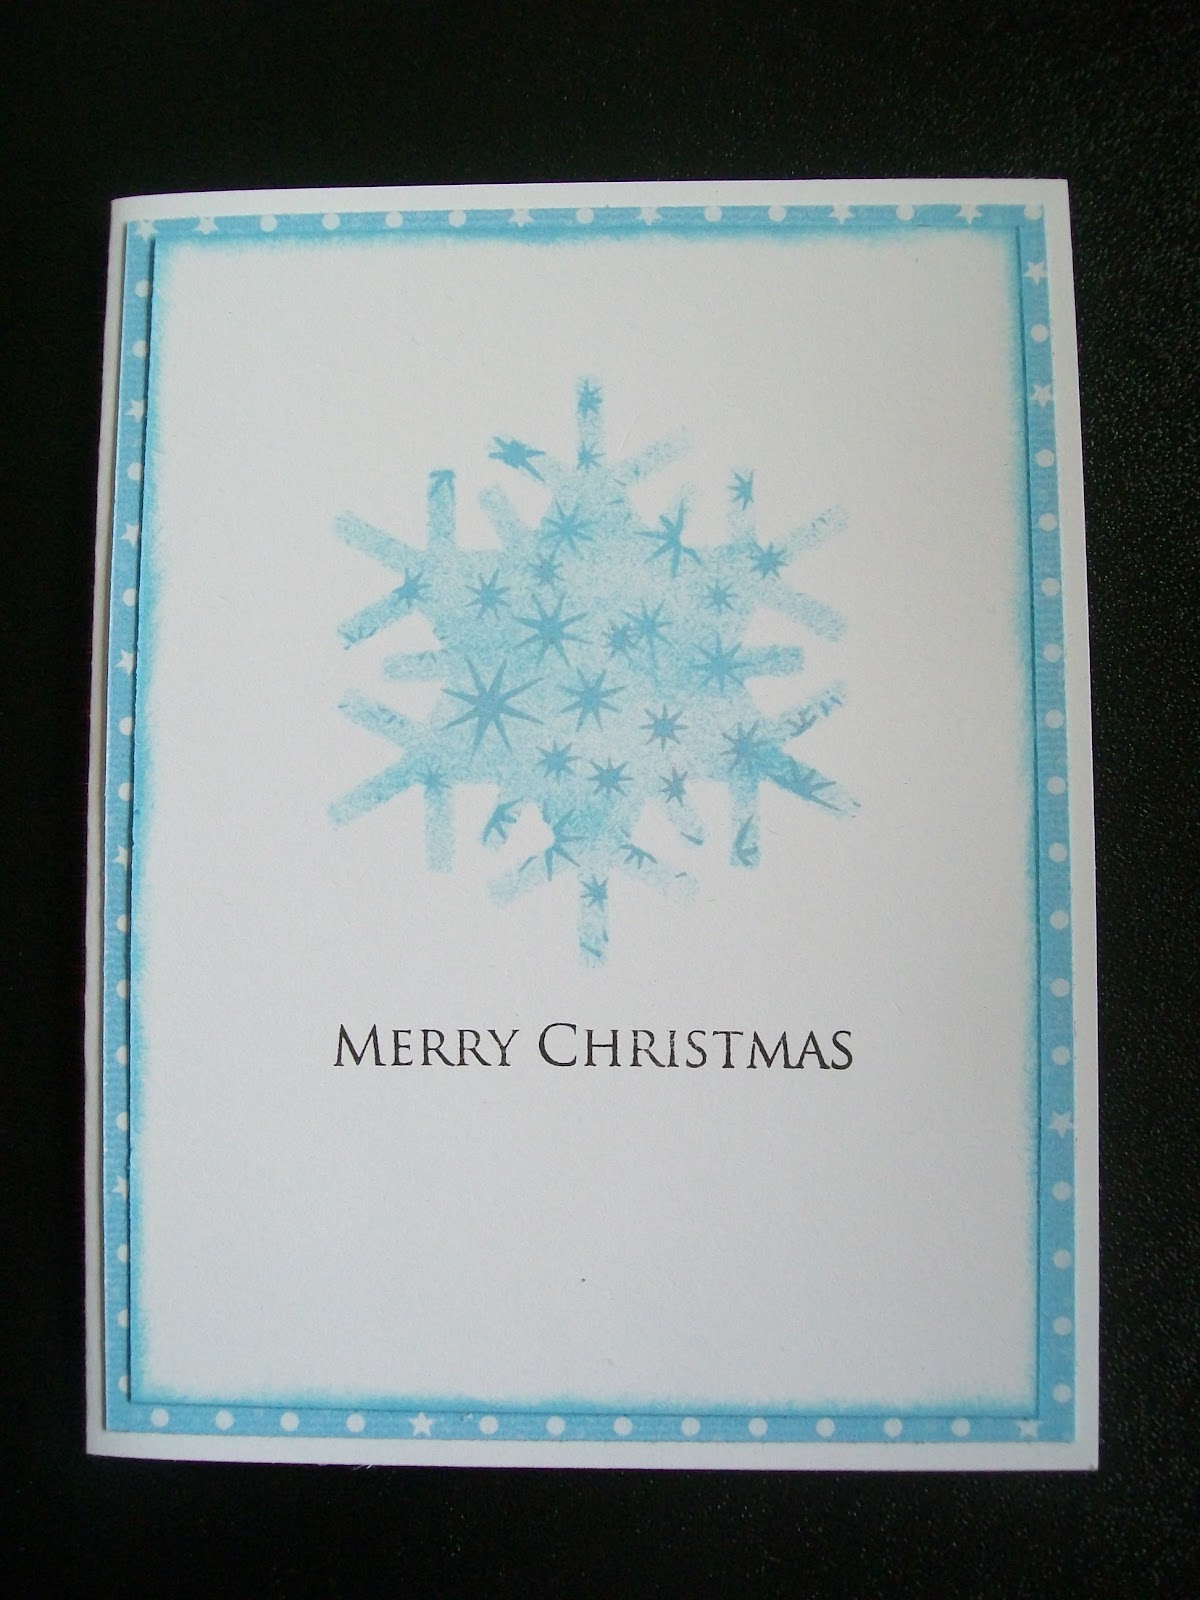
I sponged a little bit of Sky Ink on the numbers and then used the snowflakes, stamped in Lagoon, to create the texture on the numbers.  A little saying and a few snowflakes later and I was done!  I love how simplistic, but beautiful these cards are!  I also made a few Christmas cards using this same process!


I must confess that while I came up with this idea about the 2012 card all on my own (LOL), the original idea, using this process was CASEd from Lisa Stenz!  I love her artwork!  (Click here to view her blog.)

Check back tomorrow for artwork using the Stamp of the Month.  I delayed that post today so I could wish you a Happy New Year first!

Here's to 2012...

Saturday, December 31, 2011

Heading into a new year!

What a blessed Christmas we had.  It was an enjoyable holiday for us, complete with Jesus Christ. 

Here are a few layouts I made, commemorating our fun, using the Believe Level 2 paper packet and coordinating Stickease.  I totally stole two of these layouts from my dear friend, Sheila Wilkerson (click here to view her blog), and the other from the Close To My Heart art department.  Gotta love being inspired through contacts within CTMH.  I put a few finishing touches on myself.  I will take credit for that.  LOL


God has truly blessed us during these past eight months and we are looking for many more of God's blessings in 2012! Until the new year...God bless!

Love,

Thursday, December 15, 2011

Technique Hop - Glitter Gel


Everyone loves "bling" but what better time than Christmas to add some glitter and shine to your projects?! This month we are highlighting Close To My Heart's Glitter Gel available in three different colors:  Silver, Bronze and Red and each tube is just $2.75!  What a steal!

You can find a list of the participating Consultant at Debi's Blog.  If you have come from Wendy's Blog you are on the right track!  This blog hop is one big circle so start here and continue moving to check out this month's creative uses of "Glitz".


I had fun decorating this My Creations Card Box with the Believe paper packet!  I just love the Santa's on there!  Would you know I didn't do a bit of stamping to decorate the box but instead used our Exclusive Art Philosophy Cricut Cartridge?!  I used the Cricut to cut out the focal points on the top of the box; the Christmas tree and star tree topper.  I also used a piece of Desert Sand to accent the tree trunk and finally used the Red Gel to highlight ornaments on the tree.

Next, I used all three Glitter Gels to accent these gift tags.  I used our Dimensional Elements to stamp images on there.  The nice thing about our Glitz is that it serves a similar purpose to other "bling" but goes a lot further.  Gotta love "bling" that lasts...and lasts...and lasts...


The Glitter Gel is super easy to use and has a fine tip.  You can apply it to the finest of areas or spread it across a larger image.  Before using it, it is wise to shake the bottle - allowing the liquid and glitter to mix - before using.  Be sure to allow ample drying time so that you don't mess up your creation!  The amount of drying time required various depending upon the humidity of the room and the amount of application to your project.

I would love for you to create an item and incorporate the Glitter, sharing it with me when you are done!  Let me see what awesome creation you came up with!  Feel free to leave a comment and then click on over to Cherri's Blog to see what she's created!

Happy hoppin'!

Tuesday, December 13, 2011

Youth Fall Retreat 2011

My hubby and I had the honor of accompanying our youth group to a fall retreat last weekend.  We were not sure what to expect as I have never been to a church camp before but it was a blessed time.

The retreat was held on the property of Texas Bible College.  It is located in Columbus, TX in a secluded area of the town on over 1,000 acres.  The facilities of the college are nice.  I was quite impressed.  We stayed in dorm-style rooms stocked wall-to-wall with bunk beds.  All 19 of us girls were in one room.  We had an enjoyable time.

Besides fellowship and receiving great messages, there were also opportunities to play.  We played sand volleyball, rode go-carts and...I got to ride a horse for the first time!

Yes, I had the tallest horse out of everyone in the group - don't ask (lol) - and had to get a little assistance climbing up.  LOL  It was a great experience and I enjoyed sharing it with my husband.  Of course, my husband had to be entertaining before the ride.  I was cracking up!

I am thankful for the opportunity given us to attend this event with the youth at DFW New Beginnings.  Pastor Huch's ministry has been such a blessing in our life since God directed us there and we enjoy giving of our time to the youth Pastors and the youth.
Acting silly as we climbed a tree to pose for some fun pictures!

Be blessed!

Monday, December 12, 2011

Extremely humbled

I am happy to share that I have been nominated for Teacher of the Year on my campus this year.  I received notification a little over a week ago, from my Principal, and had to submit an application this past Wednesday.  I and another Math teacher were selected as nominees and our applications were put on display Friday for our coworkers to view.
This poster was placed outside my classroom door on Monday when the administration visited my first period to announcement the nomination.  I didn't expect the presentation and my students were excited for me.  Of course, they asked if we could have a party.  LOL

Voting will take place this coming week with the announcement to be made after Christmas break.  Regardless of the outcome, I am thankful for God's favor (especially if you knew of the story behind the last six months) and for the recognition.  It is a humbling experience and one that I am extremely thankful for.

It is also rather crazy that I was selected as Teacher of the Year 10 years ago at Beasley Middle School in Palatka, Florida.

Sunday, December 11, 2011

Faith & Family Day at Cowboys Stadium

Our worship band played at Cowboys Stadium on Saturday for this fun event.  We attended and enjoyed touring the stadium. 
People stood in line to take a picture with the cheerleaders.  We just caught them in the background.  :0)


In the post-game interview conference room.  He's got his game face on.  LOL

Go Cowboys!
Super Bowl trophies in the background.

Rowdy the mascot
The Cowboys play the Giants tonight for first place in the division.  We will be there cheering them on! 

Wednesday, November 30, 2011

December Stamp of the Month Blog Hop

Welcome to our Stamp of the Month Blog Hop highlighting this month's stamp set, "Mad About You".  It comes with 14 different images and can be used for much more than the obvious Valentine's events. 

We are a small and intimate hopping group this month but have some great items to share with you using this stamp set!  The hop is a great big circle, so start here and make your way around or feel free to jump from site to site with the list provided below:

1. Melissa Robinson – http://mlisrobinson.blogspot.com/
2. Sheila Wilkerson – http://ezscrapbooks.blogspot.com/
3. Judy Faye Garner – http://judyfaye.blogspot.com/
5. Cherri Hardcastle – http://craftwithfeeling.blogspot.com/
If you have arrived here from Cherri's Blog, you are on the right track! So... let's get started!

This month, and through the inspiration of my friend and downline, Lulu (click here to visit her blog), I used this month's set to create a gift card holder - perfect for this time of the year, in preparation for Valentine's day, or for any event worth celebrating. 

It measures small in size - with the main piece being 4 3/4" x 7 5/8".  Use then score that piece, along the long side, at 3 1/8" and 6 1/4".  That creates a trifold that you can decorate until your heart's content.

I incorporated our very popular and gorgeous Roxie paper packet and used coordinating colors of cardstock and black ink to finish off the holder.  Velcro provides the closure and...what is the pocket made of?

I used a SEALED standard-size envelope, adhered the flap and then cut it in half.  You can make two out of each envelope or...Lulu glued the two envelopes together, gluing them both to the insides of the holder (it doesn't open fully like this one), so that two pockets are created.  One pocket can be for the card and the other pocket for a card for your message!  With my variation, I thought the message could be written on the other panel of the holder.  EITHER WAY...CUTE and simple way to give a giftcard!

 
Thanks for stopping by!  I hope you've enjoyed this creation and will take some time to move about the hop.  I would love for you to leave a comment if you so feel led.  Now...hop on over to Sheila's Blog!  I know she has something great in store for you!

Happy hoppin'!

Tuesday, November 15, 2011

Ghosting Technique Blog Hop

Welcome to our Technique Blog Hop! This month there are eleven of us highlighting the "Ghosting Technique" as shown on page 45  in the Autumn/Winter 2011 Idea Book. 
This blog hop is a great big circle so you can start wherever you want and continue through to see all the fabulous artwork incorporating this technique. If you would like to start from the beginning, please visit this link. While there, you will also find a listing of all participants and their blog addresses if you should get lost or want to reference a blog along the way. Let’s get started!


If you are coming from Rachel's Blog, you are on the right track! 
I used the adorable, "Down by the Sea" stamp set (C1451) to highlight this technique.  I have had it since the summertime and had yet to use it. I  loved the images on it - my dream job would be to work with ocean life - so I just had to have it!  It was fun to break it out of the envelope and smell it (lol).  (If you haven't smelled a brand new stamp set from CTMH you are missing out!)


I incorported the Dreamin' paper packet, wanting to use the Pacifica color to give the idea of an "ocean".  The "floral" b&t paper also lent itself to look like creative vegetation on the ocean floor.  In any case, I thought it was a fun use of this stamp set.


It was super easy to do this technique, embossing with the Clear Detail Embossing Powder and applying Pacific with a Sponge Dauber.  I am looking forward to seeing the rest of the creative artwork using this technique.


Happy hoppin' as you make your way to Judy Faye's Blog!  Feel free to leave a comment.  I would love to hear from you!