Thursday, May 27, 2021

Slimline Blog Hop


Welcome to our Blog Hop where we are featuring Slimline Cards. Close To My Heart's version of Slimline Cards measure 3 1/2" x 8 1/2". While I often feel the need to fill up the space, I did something a little bit different on this card and am excited to share it with you!

If you are coming from CatScrapbooking, you are on the right track. You can find a complete list of participants here

As mentioned above, when I decorate slimline cards, I feel the need to fill up most/all of the space, adding different elements to do so. I remembered I had recently watched a video on coloring with alcohol markers and that I had seen a simple card. I decided to CASE it from Prairie Paper and Ink (link at bottom of post), using CTMH products. 


In wanting to provide inspiration for this size of card, I love that this design allows you to pick out a focal point (or two) and then add some additional elements. By adding the Peacock Feathers Distressed Oxide Ink and splattering it with Espresso Ink, using a Waterbrush Pen, some texture was provided to reduce the white space. 


This is the stamp set I used, Desserts a la Whirl. I am totally enjoying creating with it and can't wait to try a Spinner Card next! 


Here is a close-up of these two images. I love how they turned out and hope you do as well!

Now it's time to head over to Brenda's Blog, to see what she has created to share with you. Consider leaving a comment before you make your way around the Hop. 

Happy hoppin'!


This card was CASEd from here.

Tuesday, May 18, 2021

May/June New Product Blog Hop


The NEW May/June Idea Book was released on the first of the month and we are here to show you some great artwork created with some of the new products! 

If you are coming from Brandi's Blog, you are on the right track. You can continue to make your way around the Blog Hop by clicking on the respective links. Should you get lost along the way, you can find a list of participants here
Did you know you can get a copy of this Idea Book FREE by placing an order of any size? You can! You can also view it digitally, in the meantime. 


I had fun creating this "crooked" (LOL) Shaker Card. I promise, it was intentional. I actually received a card that looked similar to this, awhile back, and decided to recreate it using our products. 

I love the fun and celebratory look accomplished by the use of the Party Time Paper Pack. The festive colors were great for incorporating the stamped images I used. That star strip is one of the Zip Strips! I love how it looks!


This stamp set, called "All-star Birthday", has all of these fantastic images. I had a hard time deciding what I wanted to use but knew I wanted to make it a Shaker Card. I can't wait to make more artwork using the other images.


All of the elements on this card make for a great way to celebrate someone's achievement. I couldn't resist adding some Glisten Stickles on the starbursts, just for a little sparkle.

TIP: I'm not sure that inner star was intended to be used as a Shaker. I cannot figure out how you can accurately place the foam part for the shaker, as it's totally a guess on where it goes. You can tell I wasn't accurate, despite my efforts, but I also don't feel it negatively impacted the card. I figured you would be forewarned and could learn from my mishap. 

I appreciate you stopping by. Be sure to leave a comment, if you would like, and then continue making your way around the Hop. Wendy's Blog is next. Happy hoppin'!

Monday, May 17, 2021

Sponging Heart 2 Heart Challenge

This week at Heart 2 Heart, we are featuring "Sponging" as a Technique. You can incoprorate it however you'd like, into your artwork, as long as you incorporate at least one Close To My Heart product in your creation. 


As far as the sponging is concerned, I cut out the ice cream and cupcake images, on White Daisy cardstock,  Then, using Mustard Seed (yellow) and Picked Raspberry (turquoise) Distress Oxide Inks, I sponged the respective areas. To create a little texture, I then spritzed them and allowed them to dry completely. 

Once that was the case, I stamped the outline of the images in Espresso Ink. To create the texture on the cone, I stamped the image onto Toffee cardstock, used the Thin Cut again, and then fussy-cut around the upper portion so I could glue it down as shown. I did the same process with the cupcake holder. I did sponge the Peacock Feathers Distress Oxide Ink on top of the heart patterned paper that comes from the May/June Mix-Ins Paper Packet

The adorable ice cream cone and cupcake is from the Dessert a la Whirl Stamp + Thin Cuts set. It was on the top of my list from the NEW May/June Idea Book. (You can get one FREE with a purchase of any size or you can view the digital version through the link.)


While better viewed in the top photo, I did use Lemonade ink to stamp the confetti image on the Lemonade cardstock to create some tone-on-tone texture. You can more clearly see the effects of the spritzing. I love the distressed look it creates. The "You are so sweet" sentiment was perfect for stamping on the Stitched Scalloped Bracket Thin Cut. Of course, I couldn't resist adding in a little bit of Thin 3-D Foam Tape, for added dimension, while also adding a White Dot colored with the Dark Red Blend Marker, and adding a bit of Silver Embellishing Thread

The paper is from the Party Time Collection. I LOVE the vibrant and polka dot patterns that definitely create happy! 

To participate in the Sponging Technique Challenge, create your artwork and then link up to us at Heart 2 Heart. You'll find the link option at the bottom of the related post. We always enjoy seeing what you have to share with us so consider joining the fun!

Make it a GREAT week!


Saturday, May 15, 2021

Just Distress Oxide It! Technique Blog Hop


Welcome to our Blog Hop where we are featuring Distress Oxide Inks. I am sure you will find a lot of great artwork that incorporates these fun products. 

If you are coming from Judy's Blog, you are on the right track. You can continue to make your way around the Blog Hop by clicking on the links provided. A list, of participants, is provided at the bottom of this post. 


Truth be told, I haven't created much with Oxide Inks and need to take time to do so. I have realized to just go with it as they end up blending nicely together with little effort on my part. 


To create this card:
  • I started with the pink ink and created the long streak as shown.
  • When I added the next color (yellow), I went back over with the previous color to overlap them a bit more. 
  • I continued doing the same with the green and blue inks. 
  • I then spritzed the entire sheet with a little bit of water. I like the effects it provides, removing the need for the background to look perfect. I have not figured out how to make the water spots show up more so I will have to look into that.
  • After the cardstock dried, I ran the butterfly Thin Cut through my diecut machine.
  • I bent up the wings a bit and added 3-D Thin Foam Tape on its body, so it provided additional dimension. 
  • The sentiment was stamped with the Black Archival Ink and a few Silver Glitter Gems were added for the finishing touch. 
Are you wondering about the BIG Butterfly Thin Cut? It is available for a limited time only, while supplies last, as part of the "You are Enough" Special that was released this month, in honor of National Scrapbooking Month. You can find the details by following the links. 

These are the Distress Oxide Ink colors I used: 
I love how well they blended together. 

I truly appreciate you stopping by and hope you enjoy what everyone has created. Consider leaving a comment and then head on over to Cat's Blog to see what she has to share with you. 

Enjoy the second half of May! Happy hoppin'!

List of Participants:

1. Melissa Robinson *YOU ARE HERE*

Monday, May 3, 2021

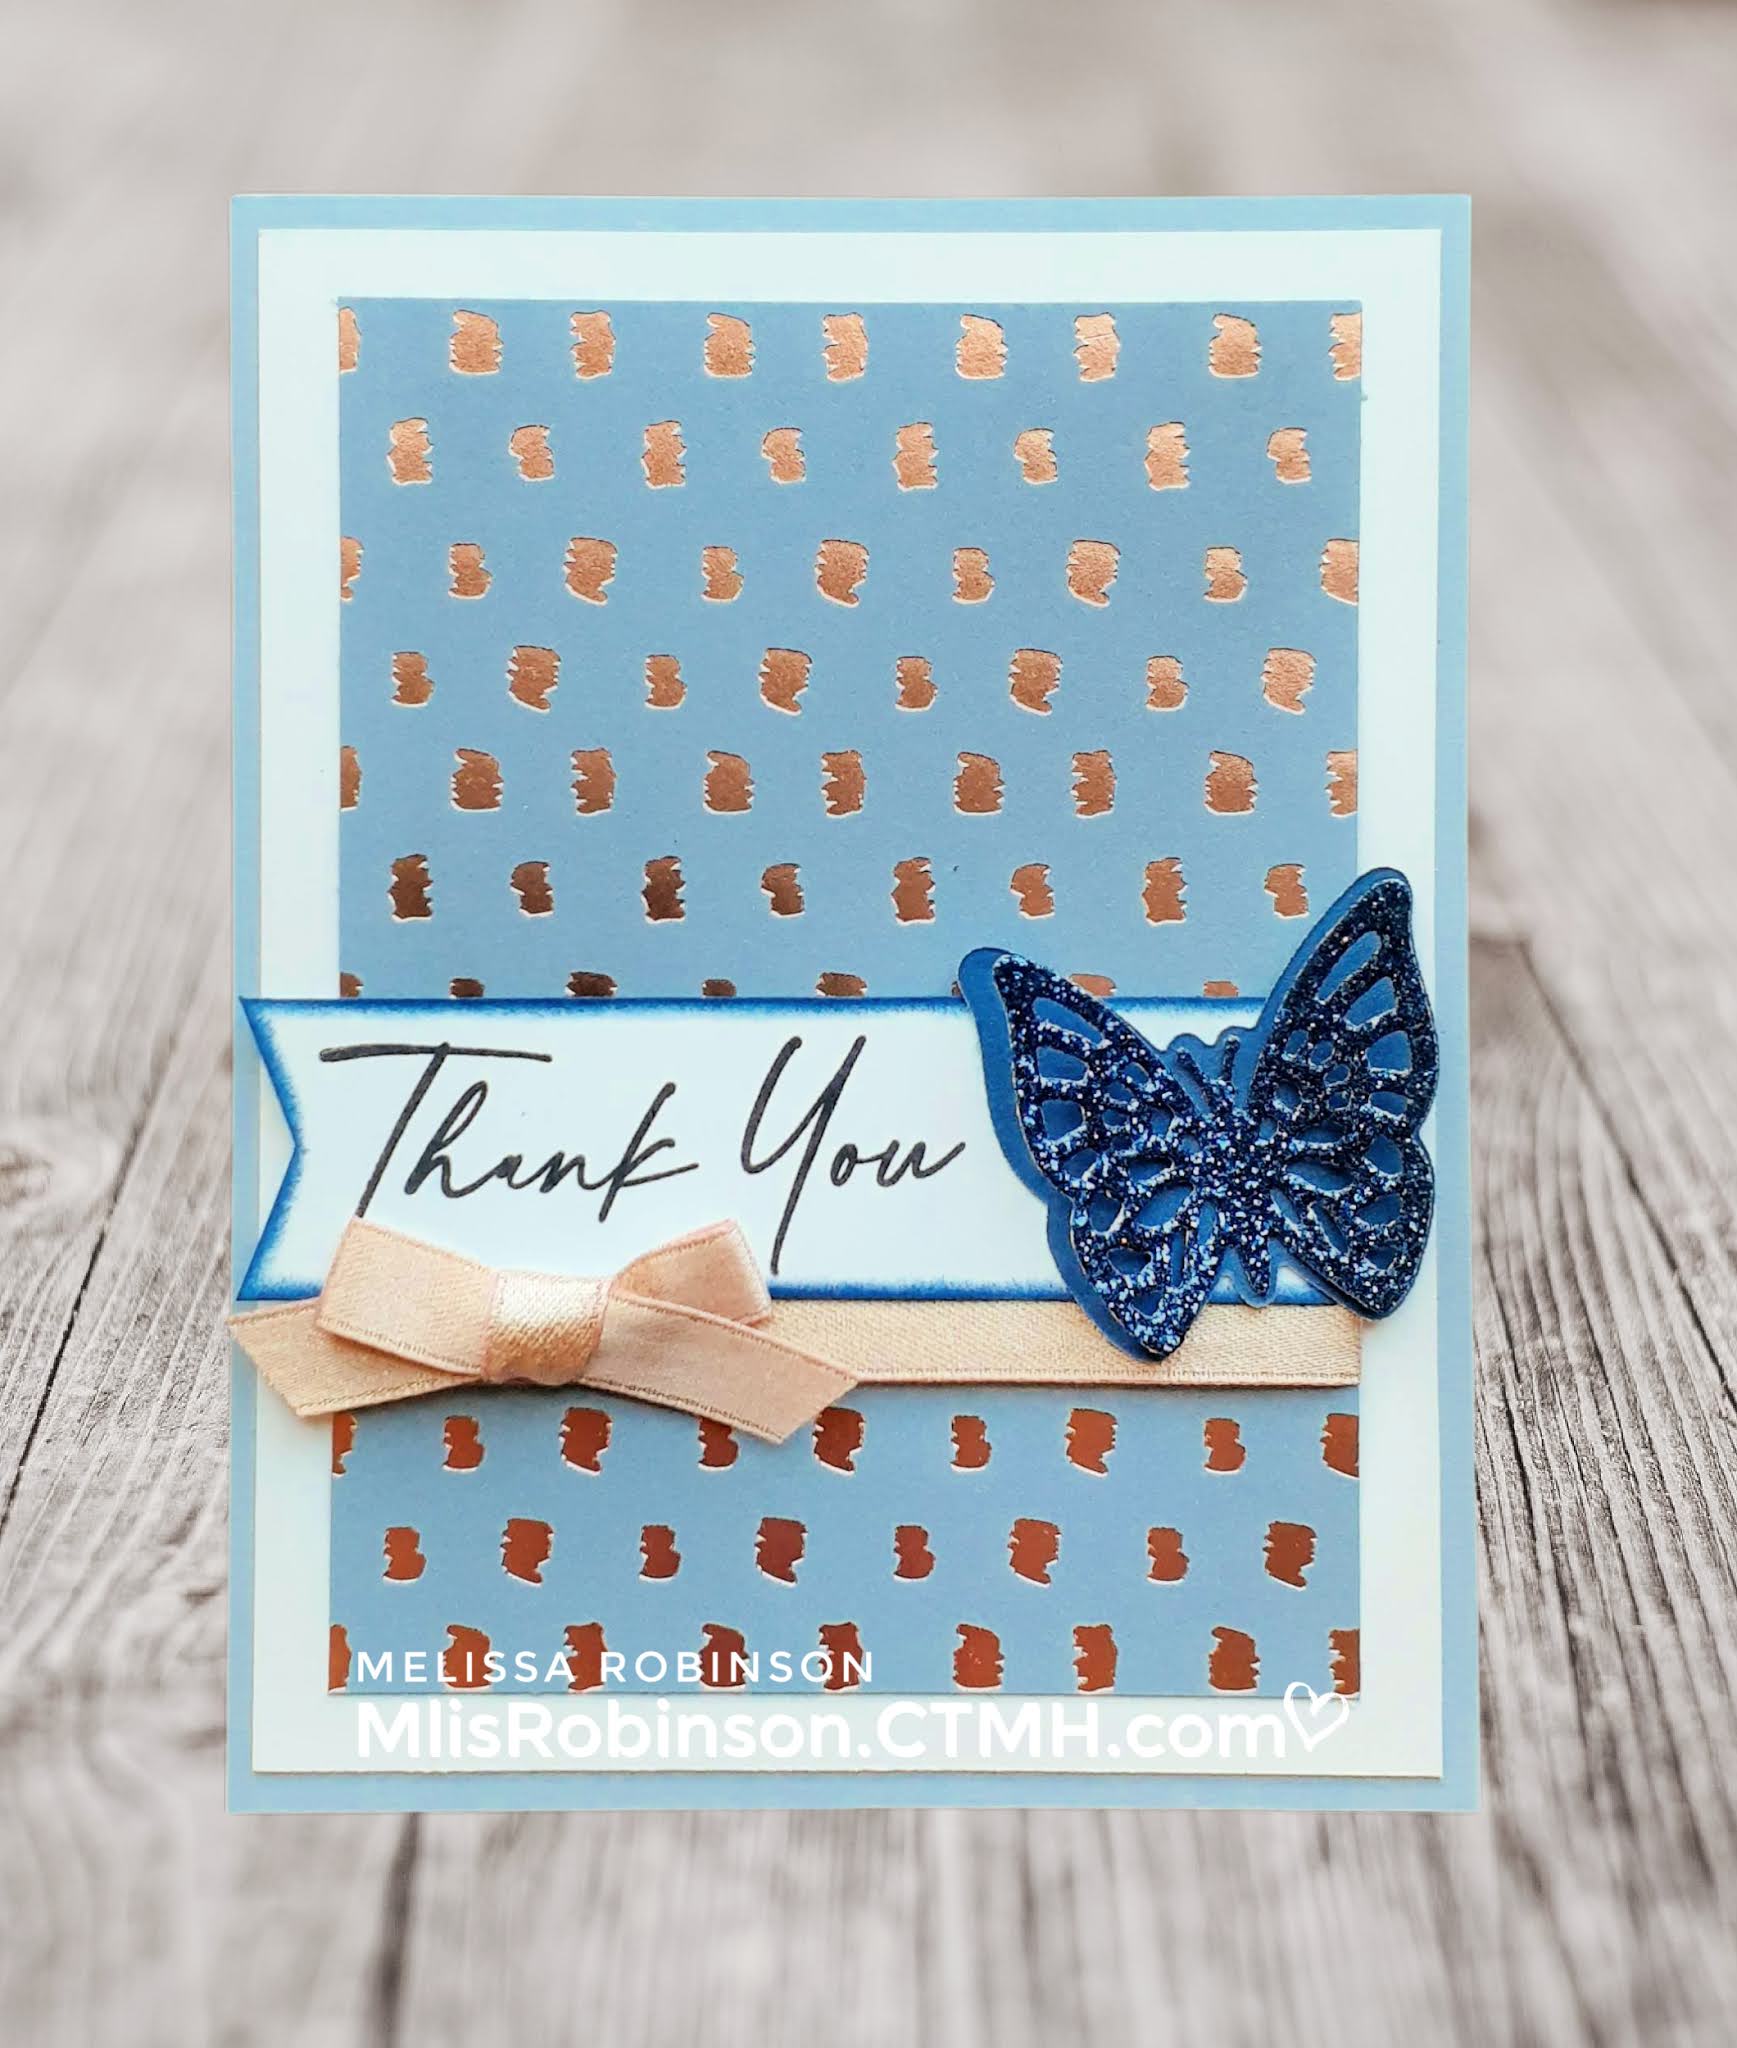
National Scrapbooking Month Blog Hop


Welcome to this Blog Hop where we are showcasing the exclusive and GORGEOUS products that are part of the National Scrapbooking Month Special, "You Are Special". 

If you are coming from Melinda's Blog, you are on the right track. You can find a list of participants by clicking here.


The collection includes a unique paper collection, coordinating stickers and cardstock - all which contain rose gold accents. There is also an exclusive stamp set, with coordinating Thin Cuts, AND the awesome (and large) butterfly Thin Cuts! You can buy the products individually or SAVE 30% when you buy them all as a Bundle


I couldn't resist incorporating some of the rose gold accented cardstock, from this collection. Not wanting to detract away from it, I did keep the design of this card simple. 

The Blush Shimmer Ribbon, included in the Bundle, is a perfect accent for coordinating with the rose gold patterns on the paper.


I did use Sapphire cardstock, and Sapphire Glitter Paper, for the small butterfly Thin Cuts. It made for a great accent on the card which I had to incorporate.

Consider leaving a comment, to let me know what you think, before you head over to Wendy's Blog. Then, continue making your way around the Blog Hop to see all of the artwork creations. 

Happy hoppin'!


Saturday, May 1, 2021

"Flowers for You" Stamp of the Month Blog Hop


Happy National Scrapbooking Month and welcome to the May 2021 Stamp of the Month Blog Hop where we are featuring the "Flowers for You" stamp set. 


This stamp set contains these beautiful floral and sentiments. I love the different fonts used.

If you are coming from Kim's Blog, you are on the right track. You can find a complete list of participants by clicking here.


Unsure what I wanted to create, I decided to keep my card relatively simple while drawing attention to the beautiful floral images. 

By simply stamping a portion of the longer "garden" image in Intense Black ink, I enjoyed coloring them in with the Tri-Blend Markers. The patterned paper comes from the NEW May/June Mix-Ins paper packet, with a splash of Smoothie. 


While not very obvious, I couldn't resist adding the Clear Shimmer Brush to the flowers. I used the Coral Shades Tri-Blend Marker to color some Glitter Gems so they coordinated with the largest flower. 

Thank you so much for stopping by. I know you'll enjoy seeing what the other participants created. Consider leaving a comment and then head over to Wendy's Blog to see what she has created to share with you. 

Here's wishing you a enjoyable month of papercrafting!

Monday, April 19, 2021

"Old & New" Challenge from Heart 2 Heart

Welcome to this week's Heart to Heart Challenge, titled "Old & New". You can interpret it to your liking as long as you are sure to incorporate at least one product from Close To My Heart

Once you create your artwork, link up to the bottom of the related post on Heart 2 Heart. We host two Challenges a month and enjoying seeing how you interpret the theme. If you have any questions, please let me know! 


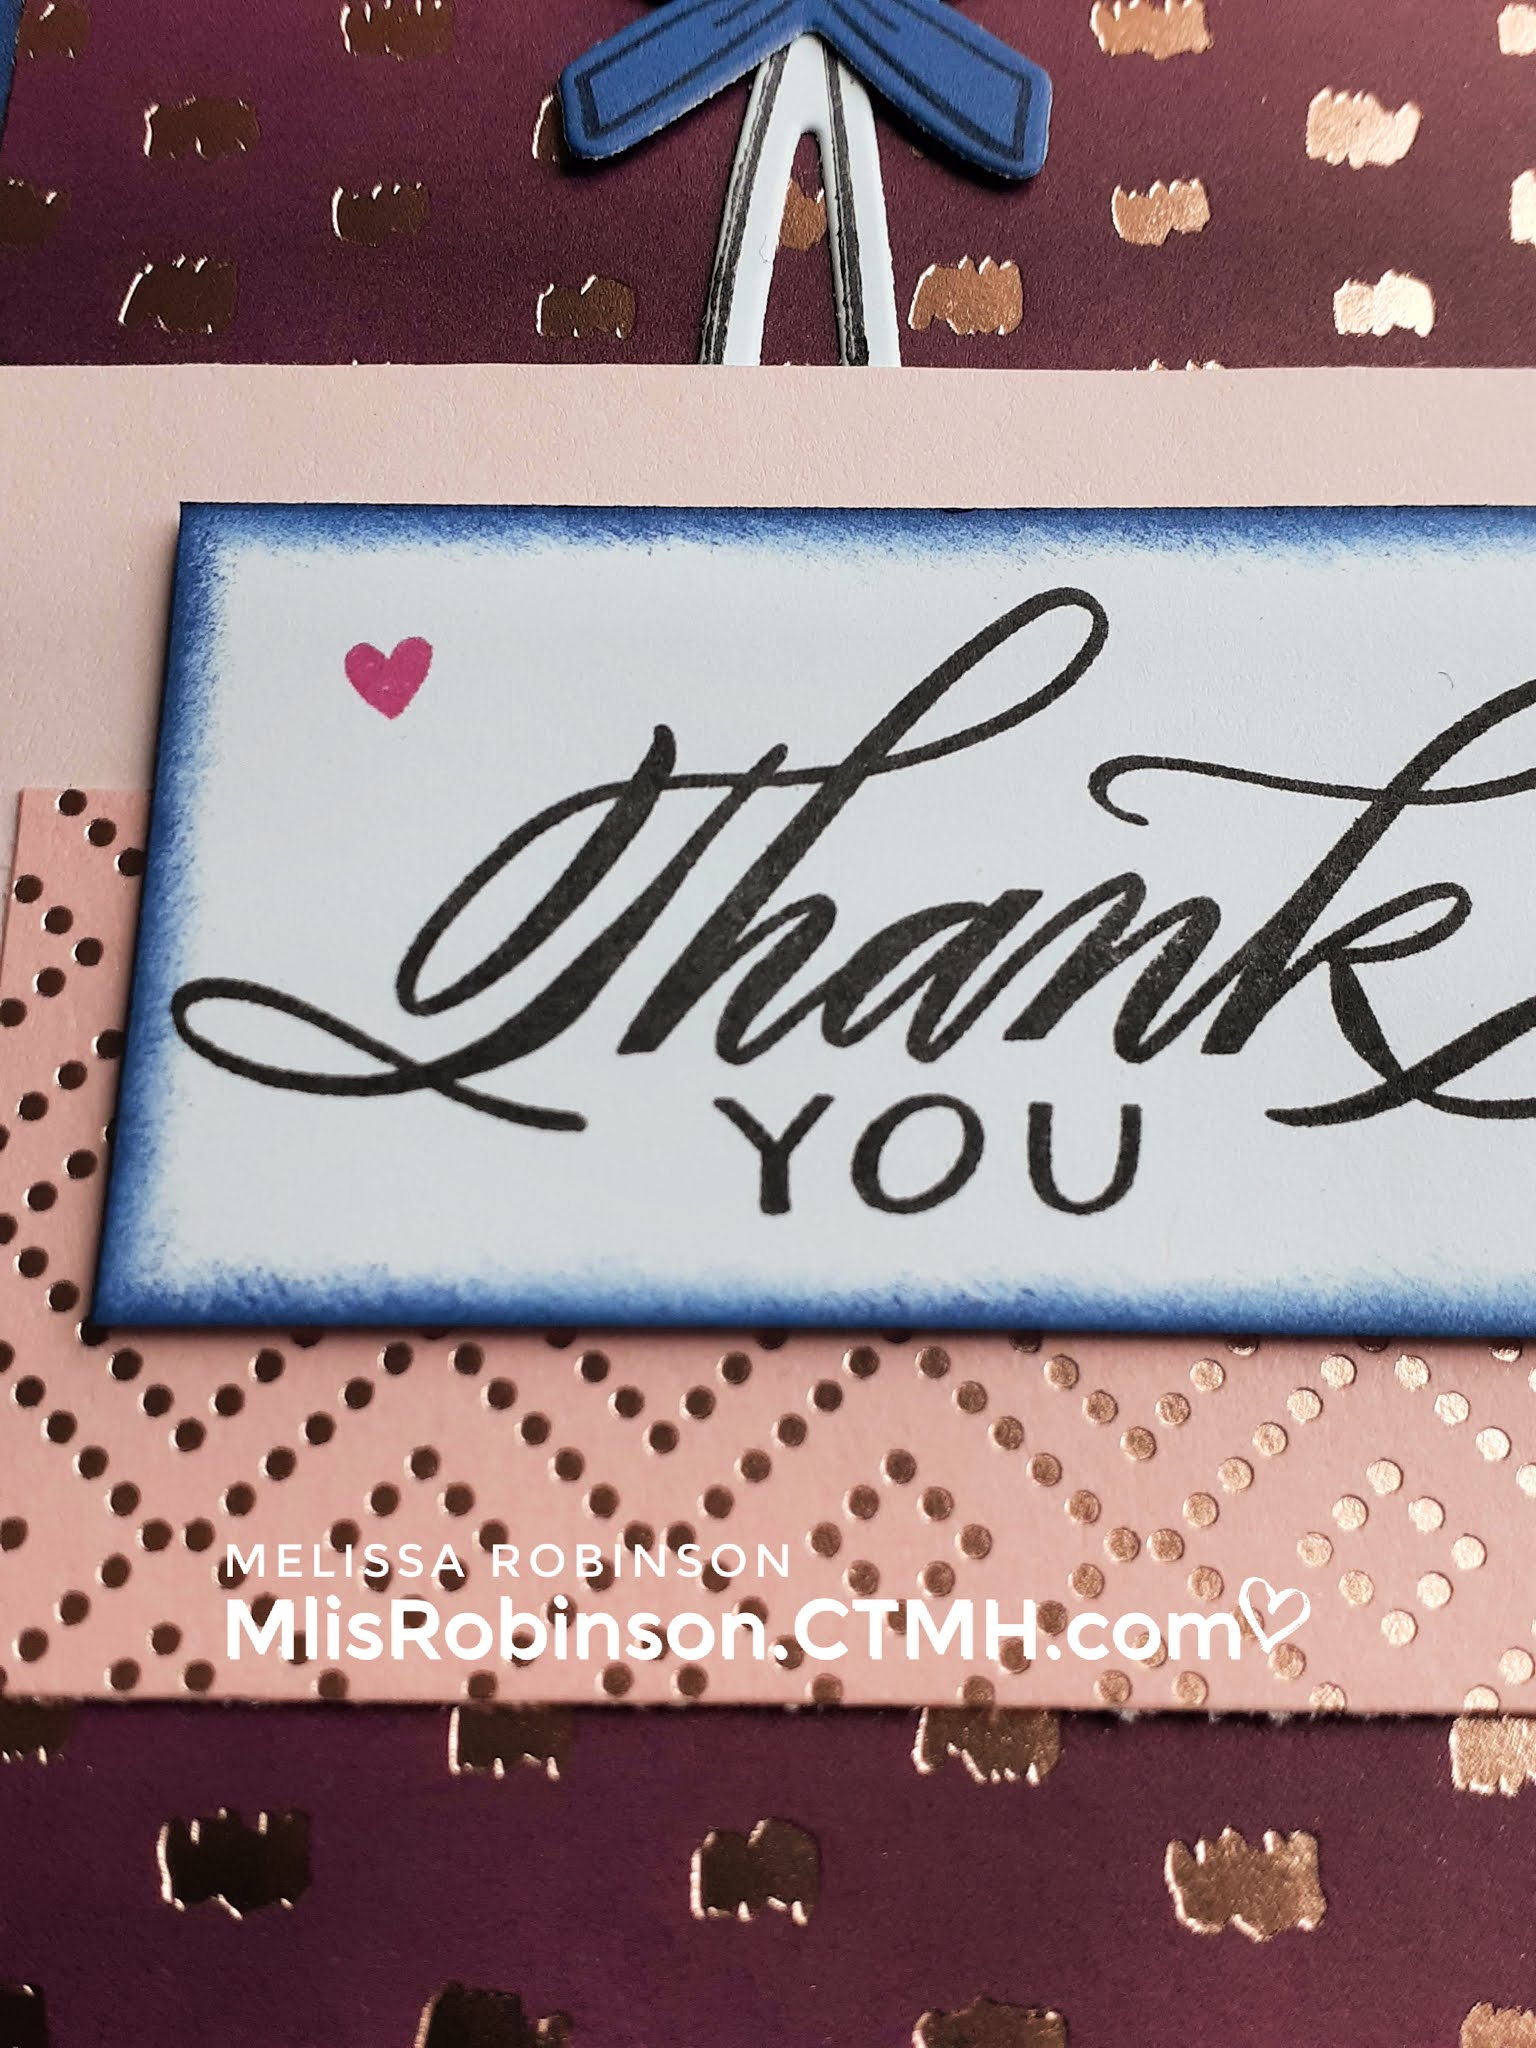
This is the artwork piece I want to share with you today. I purposefully took it at this angle so you can experience a great appreciation for the beautiful rose gold details on this paper. Isn't it gorgeous?! 


You might not recognize this paper which is part of the "New" portion of my card and post. The paper used, that contains the rose gold accents, is contained in one of the National Scrapbook Day workshop kits. (And it's a sneak peek of our May special.) It is part of the "Party Girl Scrapbooking Workshop Kit". I couldn't resist incorporating it into my creation.


The "Old" part of the theme can be referenced in a couple of different ways. In wanting to create a Slimline Card, I decided to pull out one of my retired CTMH How-To Books, "Wishes". It contains designs for 8" x 3" cards and I used it to create this one that measures 8 1/2" x 3 1/2".

Our How-To Books provide design and sketch ideas for both cards and layouts. We have our most recent ones available so be sure to check them out. They are definitely one of my favorite and top-notch products from CTMH! 


I used the Stitched Florals Stamps & Thin Cuts and Sentiments by Melissa Esplin stamp sets. They could actually be considered "old" or "new", dependent upon an individuals point of reference. LOL I'm going to consider them "old" in that I purchased them soon after they were released and that has been quite some time. 


This is an image of the card from a top-view. 


To create the flowers, I incorporated some paper-piecing and added a bit of coloring, from the Tri-Blend Markers, to create additional dimension. Cardstock colors used: Peach, Raspberry, Glacier, and Sapphire.


This angle is intended to show you the dimension of the paper-piecing and the Wood Heart


Look at the rose gold accents on this sheet of Peach. Isn't it as beautiful as well?

I do appreciate you stopping by today and have enjoyed sharing this with you. I can't wait to create more artwork using this BEAUTIFUL and exclusive paper, that will not be around forever! 

Be sure to consider joining the creative fun on the Heart 2 Heart Challenge. I hope to see your creations there!
Thursday, April 15, 2021

"Dazzling Dimension" Technique Blog Hop


Welcome to this month's Technique Blog Hop where we are featuring Close To My Heart products as we create artwork aligned with the theme, "Dazzling Dimension". 

If you are coming from Tamara's Blog, you are on the right track. You can find a list of the participants at the bottom of this post.


For today's creation, I decided to make a card that was cheerful and festive based upon the paper, stamp images and sentiment I chose to use. 

I absolutely love this stamp set, and coordinating Thin Cuts, from the Daisy Meadows product line. While it has BIG images, perfect for scrapbooking, I have enjoyed also incorporating them into greeting cards. The fun and festive paper is from the Party Time paper packet. Of course I love the colors as well as the polka dot/circle images.

Here are some close-up photos of the floral images:


I used the Tri-Blend Markers color them in.


Some of the petals and leaf images were created and cut out separately in order to add some additional dimension to the floral cluster.


I couldn't resist adding some Clear Sparkles and a Wood Heart, colored with a Tri-Blend. Of course you'll also see some shimmer sprinkled in from the use of the Clear Shimmer Brush


Continue making your way around the hop and begin by heading over to Lauren's Blog. I know you will enjoy all of the great creations we have to share with you today. Thank you, in advance, for leaving a comment before you do so. Happy hoppin'!


List of Participants:

1. Melissa Robinson *YOU ARE HERE*
2. Lauren Moore
3. Cat Nowak
4. Brandi Robinson
5. Michelle Loncar
6. Haley Dyer
7. Wendy Kessler
8. Katy Taylor
9. Kim Loewen
10. Maz Wood
11. Miss Carrie
12. Tamara Sandwisch